New edition of Super Mario RPG It doesn't reinvent the wheel and brings some dramatic changes to the classic Super Nintendo RPG. However, a great addition to the content is the ability to encounter many of the game's bosses again in different, more challenging ways.
Follow the guide below to learn more about these optional encounters and complete everything the game has to offer once and for all.
Just a dream
After defeating Smithy, close the Super Mario RPG story and watch the credits, the game will save your progress and it will be possible to go back a little and continue with the same save in the state it was before the last dungeon encounter.
The proper interpretation of the story is that Mario was asleep and was dreaming of the final battle. After waking up at home, the plumber receives a message that he has the right to spend one night at the hotel in Marymoor.
After waking up, take Mario to Star Hill and touch the stars until you find new pink stars on the ground. Gino will recommend that you talk to Mallow's adoptive father, the Frog Sage, to learn more about the new pink star requests.
The wise old frog will give you advice on where to find each of the bosses that can be defeated again. However, don't worry, just read below and you will know exactly what to do and where to go.
You will find him inside his temple, the Belome Temple, located in the Land's End area.
Belome will create copies of your team's characters, and you'll have to deal with them first. Bowser is the more annoying clone thanks to his high number of health points, but Peach or Mallow are very easy to deal with.
After defeating Belome, you will obtain Mallow's best weapon in the entire game, the Sage Stick.
Level up Punchinello
Location: Mulville – Mulville Mines
With no weaknesses and very high defense, it doesn't even matter what it is president Only 1200 HP The boss will constantly summon bombs during battle, and if one of them goes off on one of your characters they will almost certainly die.
In this battle Work orders — Precise button pressing when defending — is essential. It's that little window of defense that keeps you from losing any life points and can really help you during this battle, so it's worth training your finger. Death is common in this encounter, so bring plenty of Pick Me Up (which revives an ally) with you.
Attacking Punchinello directly doesn't do much good, but if you attack the bombs can change direction and explode directly in the boss's face. Remember not to use special area attacks to avoid attacking the bombs that Punchinello is already facing.
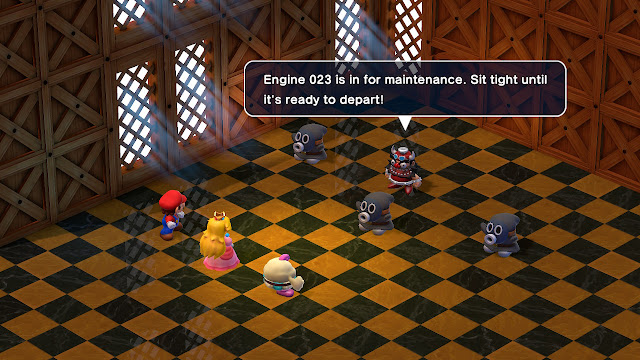
Engine 023 booster
Location: Al Daam Tower
This battle is very frustrating if none of your characters have the speed to attack before the Booster, but it's pretty easy if you're naturally fast. Focus on the attacker with the highest speed on your device partyWhich is likely to be Gino or Mario himself. To ensure your ally's agility, equip the Feather item.
It's important to be quick because Booster launches a train attack that can kill all of your characters at once if you let him launch the entire attack while he's working. To prevent this from happening, you need to break the villain's concentration with an attack.
Peach can save him with any healing spell, but Mallow is more useful in confrontation. Booster's minions are weak to the ice element, and Mallow has access to Snowy, an ice spell that deals area damage. Another correct strategy is to focus on Booster all the time and press the Booster button Work orders To use the area damage bonus from normal hits.
Luxury add-on package
Location: Marymoor Church
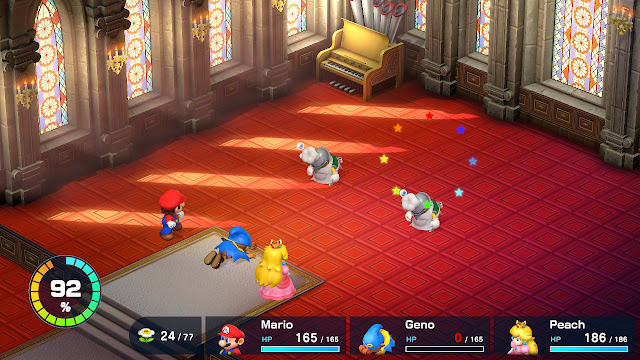
Pundit is accompanied in combat by two chefs who take no damage and can light two of the five candles each turn (they each light one candle). Although Big Cake's minions cannot take damage, they can be rendered incapacitated in one specific way: by falling asleep.
Use and abuse Peach's Sleepy Time spell to dramatically slow down the biggest threat in battle – or, if you prefer, also use Sleepy Bombs to sedate enemies.
After defeating Bundt, you will receive a permanent brooch, an item that can revive an ally once per battle.
Duel ready Johnny
Location: Sunken Ship – Pirate Headquarters
This is perhaps the most specific battle in this list of post-Endgame reunions. When you face off against the pirate leader, Johnny, again, you will only be able to use Mario during combat.
Preparing for battle is no less important than the confrontation itself. At the start of the encounter, you can choose two allies to support Mario and only passively assist. It is recommended to use Geno and Bowser, which provide increased attack and defense.
As in many other tournament fights of the time, Work orders Essential for you to ensure success. Defend as much as you can and double your damage to defeat the shark and move forward as quickly as possible.
The battle is very difficult if you don't already have Mario's custom Lazy Shell item. Getting these shells is not complicated, follow the guide to find them quickly and easily.
After defeating Bundt, you will obtain the Ultra Shiny Stone, an item that opens the door to the final battle against the 3D Culex.
Mario Style Jinx
Location: Monster Town
In this fight, all you have to do is focus on getting the triple move percentage as quickly as possible, and don't worry about Jinx's life points.
As always, get as much traffic as possible. Action commands To ensure a good defense and revive your allies whenever necessary. In addition to Jinx's powerful attacks, whenever you miss the perfect timing of the attack, she will counterattack and take a large chunk of one of your characters' life points.
3D Culex
Location: Monster Town
Peach is essential and protecting it with a Security Badge and/or Lazy Shell Armor can make all the difference in the world at different times. Trust me, you will have to heal your entire group and constantly revive allies in this battle.
Likewise, come into the encounter carrying as many healing, status healing, and revival items as possible – not to mention that it will help a lot if all of your characters are level 30, the highest level in the game.
Review: Christian Amarante

“Coffee trailblazer. Social media ninja. Unapologetic web guru. Friendly music fan. Alcohol fanatic.”


